After seeing the price of UV light boxes from companies such as Farnell, I decided to build one myself. Initially I started with a UV bulb that I ordered through Jaycar. This is a standard bayonet fitting bulb that appears dark blue in colour. I wired up a lamp socket and tried exposing some UV sensitive PCB to it. The result was dismal. That is to say that it didn't work at all.
Not willing to admit defeat, I decided to try UV fluorescent tubes. I bought four 15W units made by NEC. These tubes are white in colour. Of course I had to buy all the ballasts, starters, tube holders etc. and that added significantly to the price. Hmm.
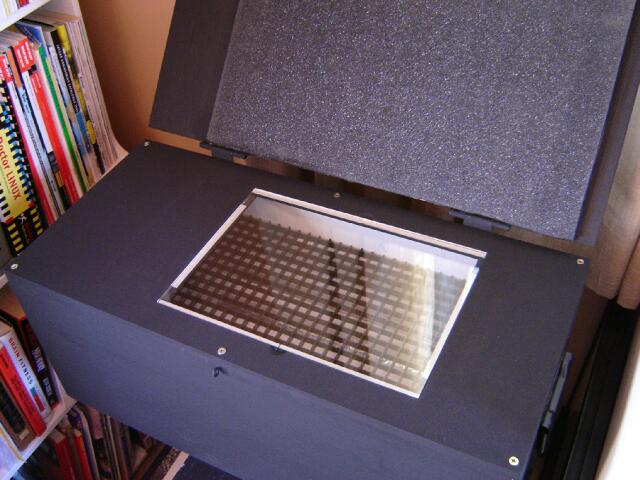
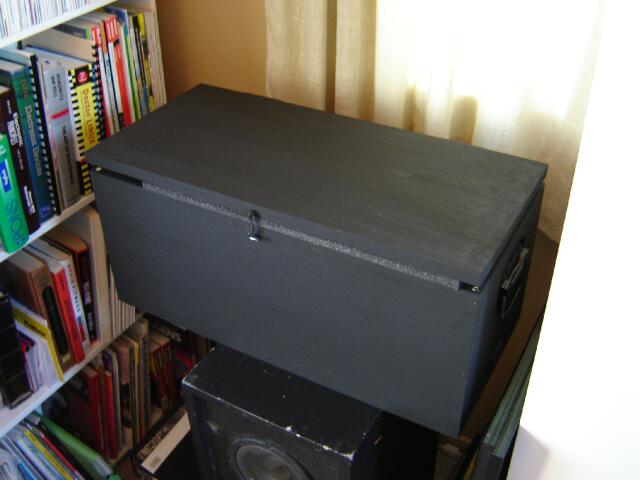
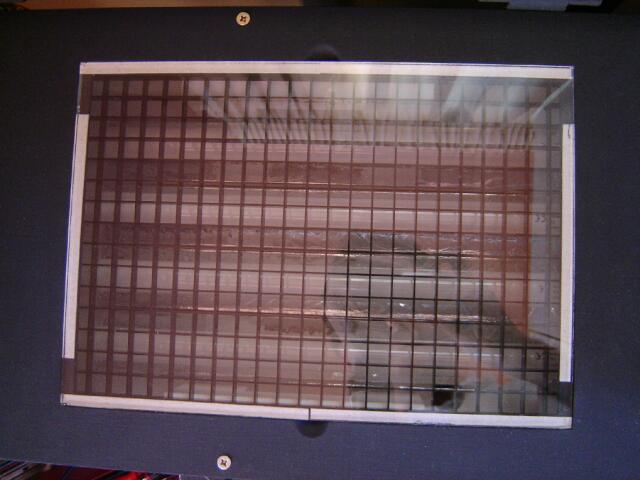
Trial of a single tube showed the proof of concept to actually work. Incidentally I used a piece of 4mm window pane glass between the tube and the PCB and that worked fine. Next I built the box, with some help. Made from an old test loudspeaker enclosure, the top has the glass mounted in it, with a foam covered lid with latch to hold artwork down. I added a couple of handles, as well as some holes in the side of the case, covered by fan grills, as the tubes do get quite hot.
No timer as yet, but the box works well. After adding up the cost of everything including wood, adhesive, handles, grills, power socket, collimator, paint etc. it turned into quite an expensive exercise. Still quite a lot cheaper than buying one ready made of course. If I were to do it again I may well use just two tubes to cut the cost a bit. As it is now, the four tubes can effectively cover an area the size of a piece of A4 paper.